Introduction
Recreate the magic of Disney at home with this Disney chocolate chip cookie recipe using metric measurements for precise baking. Known for their soft, chewy centers and rich, chocolatey flavor, these cookies have become a favorite among Disney fans worldwide. Whether you’re a seasoned baker or trying your hand at cookies for the first time, this recipe is simple, foolproof, and delivers incredible results. Using quality ingredients and accurate measurements ensures you get the perfect texture every time. Ready to bake these iconic cookies? Let’s dive into this step-by-step guide to bring Disney’s delicious magic to your kitchen!
Table of Contents
Disney Chocolate Chip Cookie Recipe with Metric Measurements
What Makes Disney Chocolate Chip Cookies Special?
The Disney Magic in a Cookie
Disney chocolate chip cookies have earned their special place in the hearts of cookie lovers because of their signature soft, chewy texture and rich, indulgent flavor. Unlike regular cookies, Disney’s recipe balances buttery notes, premium chocolate, and the perfect sweetness, creating a delightful bite every time. The use of quality ingredients—like real butter and high-grade chocolate chips—sets these cookies apart. Achieving that iconic texture also relies on precise measurements to ensure consistency in every batch. This attention to detail is part of what makes Disney cookies a magical experience for everyone, just like their theme parks.
Why Use Metric Measurements?
Using metric measurements—such as grams for flour and butter or milliliters for liquids—provides unparalleled accuracy and consistency in baking. Unlike cup measurements, which can vary based on how ingredients are packed, metric measurements ensure precision, which is key to recreating Disney’s flawless results. Metric recipes are also ideal for international bakers, as they eliminate confusion caused by measurement conversions. By sticking to grams and milliliters, you can achieve the same soft, chewy cookies every time, regardless of location or skill level.
Baking Disney chocolate chip cookies using metric measurements guarantees that you’ll enjoy the magic and consistency of this beloved recipe at home!
Ingredients for Disney Chocolate Chip Cookies
Ingredients:
| Ingredient | Metric Measurement |
|---|---|
| All-purpose flour | 250 grams |
| Unsalted butter (softened) | 115 grams |
| Brown sugar | 150 grams |
| Granulated sugar | 100 grams |
| Large eggs | 2 (about 100 grams) |
| Vanilla extract | 5 ml (1 teaspoon) |
| Baking soda | 5 grams (1 teaspoon) |
| Salt | 3 grams (½ teaspoon) |
| Chocolate chips (Ghirardelli or Hershey) | 200 grams |
Ingredient Tips
Use High-Quality Chocolate Chips
The quality of chocolate chips can make a huge difference in your cookies. Brands like Ghirardelli, Hershey, or even Guittard offer premium chocolate that melts beautifully and adds rich flavor. Consider using dark chocolate chips for a more indulgent taste or a combination of milk and semi-sweet chips for balance.
Substitutes for Brown Sugar
If you don’t have brown sugar, you can create a quick substitute by combining white granulated sugar and molasses. For every 100 grams of brown sugar needed, mix 100 grams of white sugar with 10 grams (1 tablespoon) of molasses. This recreates the moisture and caramel-like flavor that brown sugar brings to the cookies.
These tips ensure your Disney chocolate chip cookies turn out soft, chewy, and full of flavor, just like the ones served in the parks!
Step-by-Step Disney Chocolate Chip Cookie Recipe
Step 1 – Preparing the Dough
- Cream the Butter and Sugars: In a large mixing bowl, combine the softened unsalted butter, granulated sugar, and brown sugar. Using an electric mixer (or by hand), cream them together for about 2-3 minutes until the mixture is light and fluffy. This step is crucial for creating the perfect cookie texture.
- Add Eggs and Vanilla: Gradually beat in the eggs one at a time to ensure they incorporate evenly. Then, add the vanilla extract and continue mixing until the batter is smooth and well-blended.
Pro Tip: Be sure the butter is softened but not melted. Softened butter traps air when creamed with sugar, giving your cookies a lighter texture. If your butter is too soft, chill it slightly before starting.
Now you’re ready to move on to Step 2 – combining the dry ingredients!
Step 2 – Combining Dry Ingredients
- Sift the Dry Ingredients: In a separate bowl, sift together the all-purpose flour, baking soda, and salt. Sifting removes any lumps and ensures even distribution of the leavening agent for a consistent texture.
- Gradually Mix into Wet Ingredients: Slowly add the dry ingredients into the wet mixture (butter, sugar, eggs, and vanilla) in batches. Use a low speed on your mixer or fold by hand with a spatula to avoid overmixing, which can result in dense cookies. Mix until the flour is just combined, and no dry streaks remain.
Pro Tip: Overmixing develops gluten in the flour, which can make your cookies tough. Stop mixing as soon as the flour disappears into the dough.
Now, get ready for Step 3 – adding the chocolate chips! 🍪
Step 3 – Adding the Chocolate Chips

- Fold in the Chocolate Chips: Gently mix in the chocolate chips using a spatula or wooden spoon. Ensure the chips are evenly distributed throughout the dough for balanced flavor in every bite.
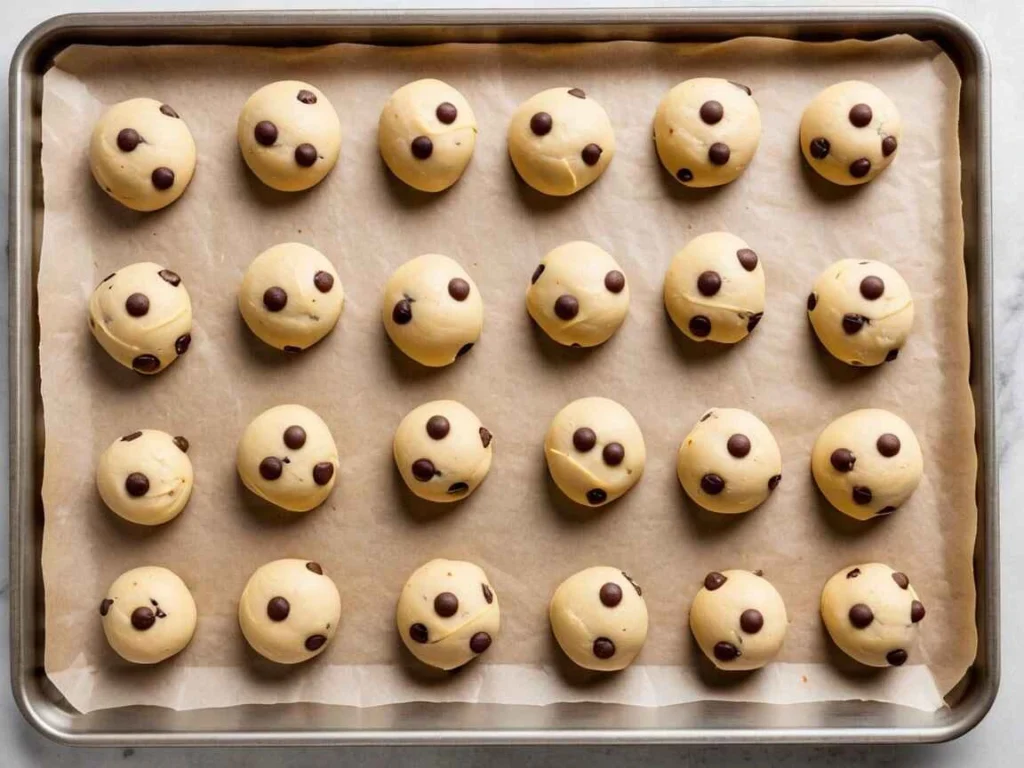
- Optional – Chill the Dough: Cover the dough with plastic wrap and chill it in the refrigerator for 30 minutes to 1 hour. Chilling the dough allows the flavors to develop and helps the cookies maintain a thicker, chewier texture during baking.
Pro Tip: Use high-quality chocolate chips, such as Ghirardelli, Hershey’s, or premium baking chocolate, for a richer and more decadent cookie. If you prefer pools of melted chocolate, try chopped chocolate chunks instead of chips.
Once the dough is ready, it’s time to scoop and bake! 🍪
Step 5 – Cooling and Serving
- Initial Cooling on the Tray: Once the cookies are baked, let them sit on the baking tray for about 5 minutes. This allows them to firm up slightly while retaining their soft centers.
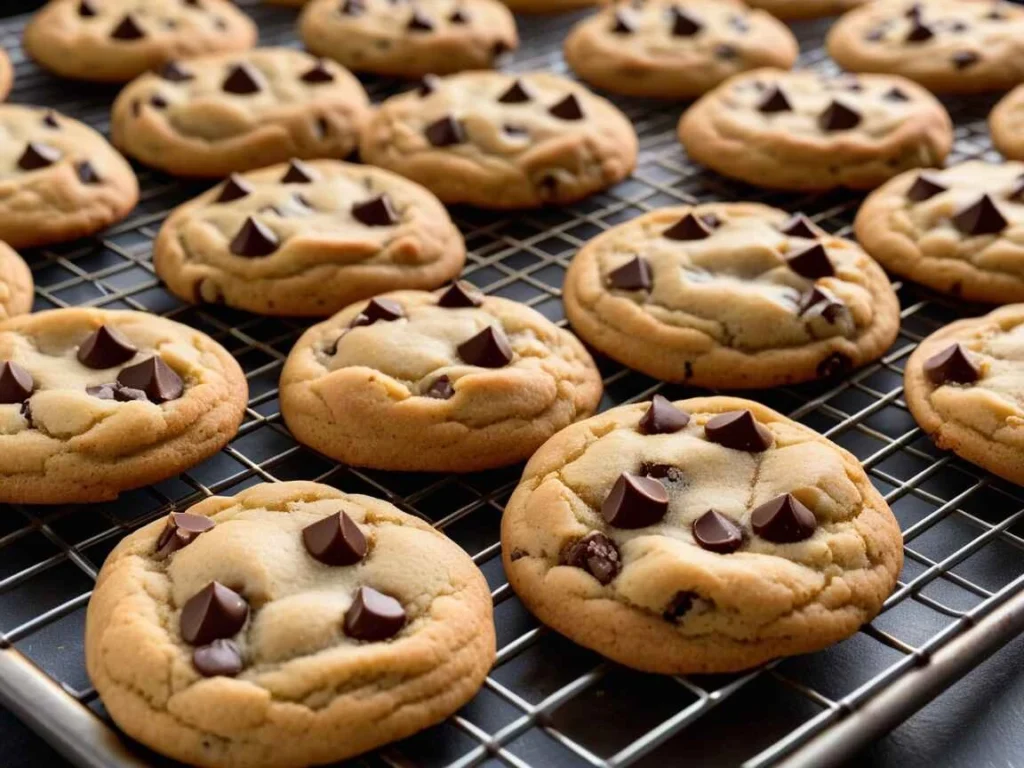
- Transfer to a Wire Rack: Carefully move the cookies to a wire cooling rack to cool completely. This prevents overbaking from residual heat and ensures they maintain their chewy texture.
- Serving Options:
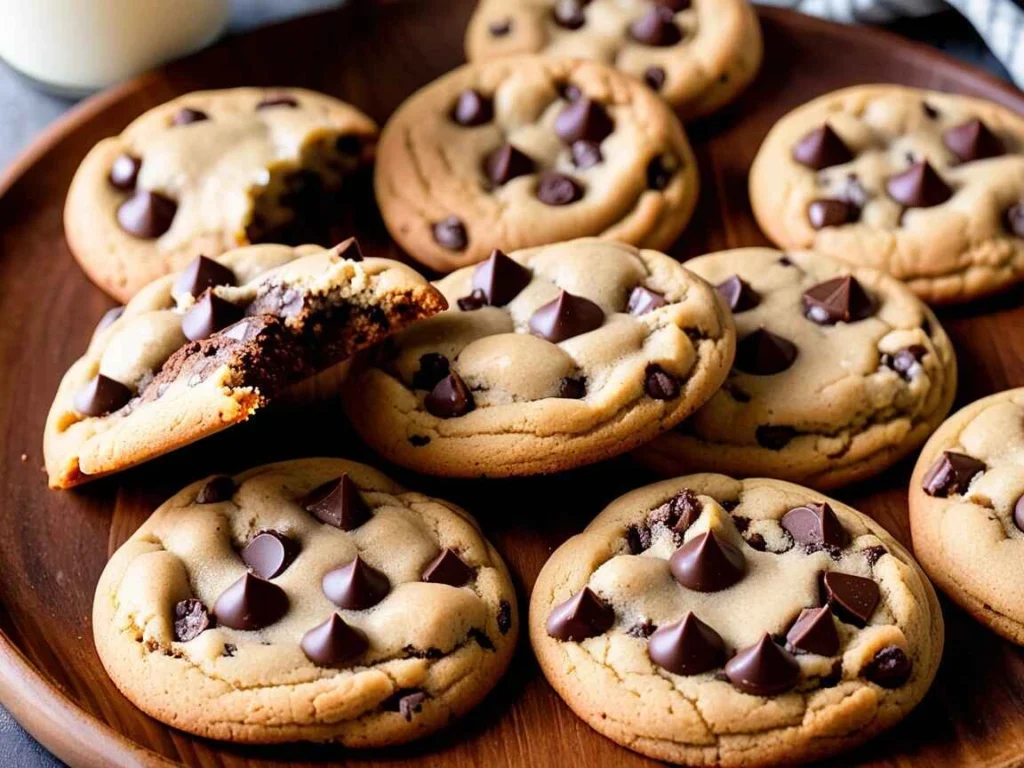
- Enjoy Warm: Serve the cookies warm with a glass of cold milk or a hot beverage like coffee or cocoa.
- Store for Later: Place cooled cookies in an airtight container at room temperature. They stay fresh for up to 4-5 days.

Pro Tip: If you love melty chocolate, reheat a cookie in the microwave for 5-10 seconds before serving! 🍪
Tips for the Perfect Disney Chocolate Chip Cookies
Avoid Overbaking
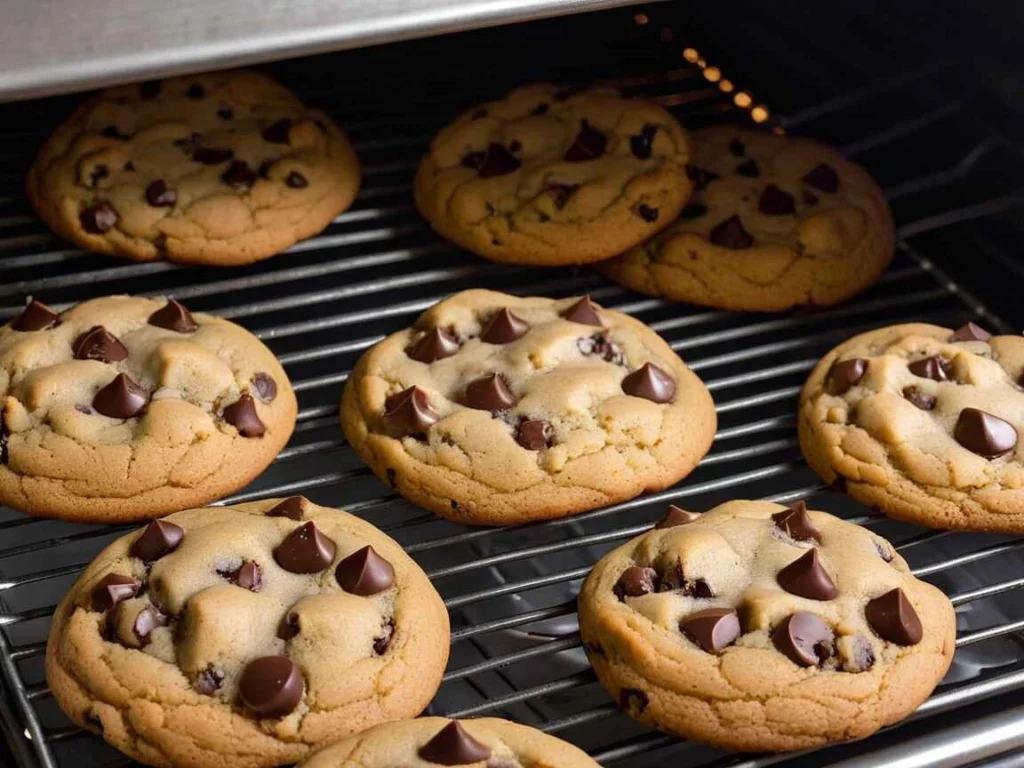
- Watch the Edges: Remove the cookies from the oven as soon as the edges turn golden brown, even if the center looks slightly underbaked. The cookies will continue to firm up on the tray as they cool.
- Time it Right: Bake for 10–12 minutes at 175°C (350°F), depending on your oven. Keep an eye on the cookies during the final minutes.
Chill the Dough
- Enhanced Texture: Chilling the dough for at least 30 minutes allows the butter to solidify, which results in thicker, chewier cookies.
- Deeper Flavor: Refrigerating the dough enhances the flavors by allowing the sugar to absorb moisture, creating a richer, caramel-like taste.
Pro Tip: If time permits, chill the dough overnight for the best results.
Choose the Right Chocolate
- Semi-Sweet Chocolate: A balanced option that pairs well with the sweetness of the dough.
- Dark Chocolate: Adds a rich, slightly bitter contrast for a more sophisticated flavor.
- Milk Chocolate: Perfect for those who prefer a sweeter, creamier bite.
Upgrade: Use chocolate chunks or a combination of chips and chunks for gooey, melty pockets of chocolate in every bite.
By following these tips, you’ll achieve soft, chewy, and flavorful cookies that taste just like Disney magic! 🍪✨
Delicious Variations of Disney Chocolate Chip Cookies

Chocolate Chip Pecan Cookies
- Add Crunch: For a delightful texture, fold in chopped pecans along with the chocolate chips. The toasted, nutty flavor pairs wonderfully with the rich chocolate.
- Perfect Pairing: Pecans add extra depth to the cookies while maintaining their soft, chewy texture.
Chocolate Chip Walnut Cookies
- Nutty Twist: Swap out pecans for walnuts to give your cookies a slightly bitter and earthy flavor that complements the sweet chocolate.
- For Nut Lovers: Walnuts provide a firmer crunch compared to other nuts and enhance the richness of the cookies.
Gluten-Free Chocolate Chip Cookies
- Substitute Flour: If you’re gluten-sensitive, almond flour or a gluten-free flour blend works well as a substitute for regular flour. Be sure to adjust the ratios, as gluten-free flour often absorbs more liquid.
- Binding Ingredients: Consider using xanthan gum or guar gum to help bind the dough together if your gluten-free flour blend doesn’t contain it.
- Tip: Bake a small test batch first to perfect your gluten-free version!
Small Batch Chocolate Chip Cookies
- Quick Bake: If you only want a few cookies, reduce the ingredients proportionally for a small batch recipe.
- Time-Saving: Small batch cookies allow for a faster bake time, usually around 8-10 minutes at 175°C (350°F). You’ll have fresh, warm cookies in no time!
These variations add exciting twists to the classic Disney chocolate chip cookie, perfect for any occasion or dietary preference!
Nutritional Information for Disney Chocolate Chip Cookies

Calories and Macronutrient Breakdown
Each Disney chocolate chip cookie contains an approximate breakdown of 180 calories per cookie. Here’s an estimated breakdown of macronutrients per cookie:
- Calories: 180
- Protein: 2-3 grams
- Fat: 9-10 grams (includes both saturated and unsaturated fats)
- Carbohydrates: 24-26 grams (with around 15 grams of sugar)
These values can vary depending on specific ingredients like the type of chocolate chips and portion size.
Making the Cookies Healthier
If you’d like to make the cookies a bit healthier without sacrificing taste, here are some suggestions:
- Reduce Sugar: Cut down on the granulated sugar and brown sugar by 25-30% without significantly altering the texture or flavor.
- Use Whole Wheat Flour: Replace half of the all-purpose flour with whole wheat flour for a fiber boost.
- Try Healthier Fats: Use coconut oil or unsweetened applesauce instead of butter to reduce the saturated fat content.
- Dark Chocolate Chips: Opt for dark chocolate chips with at least 70% cocoa to lower sugar content and boost antioxidants.
- Flaxseed or Chia Seeds: You can add ground flaxseed or chia seeds for additional fiber and omega-3 fatty acids.
These adjustments can help lower the calorie count and improve the overall nutritional value of your cookies while maintaining their delicious flavor.
Serving Suggestions for Disney Chocolate Chip Cookies
Pairing Ideas
For the ultimate indulgence, pair your Disney chocolate chip cookies with a variety of beverages:
- Cold Milk: The classic pairing with chocolate chip cookies, offering a creamy and refreshing contrast to the sweetness of the cookies.
- Hot Chocolate: A rich, comforting option that complements the chocolatey goodness of the cookies, especially during colder months.
- Coffee: For an adult twist, a cup of coffee—whether hot or iced—adds a nice balance with its slightly bitter flavor, enhancing the sweetness of the cookies.
These beverages elevate the cookie experience and provide a variety of choices depending on the occasion or personal preference.
Storage Tips
To ensure your Disney chocolate chip cookies stay fresh:
- Airtight Container: Store cookies in an airtight container at room temperature for up to 1 week. This helps maintain their soft and chewy texture.
- Freezing: For longer storage, freeze the cookies in a single layer on a baking sheet for about 1 hour. Once frozen, transfer them to a ziplock bag or airtight container and store them in the freezer for up to 3 months. You can enjoy a freshly baked cookie by microwaving it for 10-15 seconds or letting it thaw at room temperature.
These storage tips will keep your cookies fresh and ready for when the craving hits!
Conclusion
The Disney Chocolate Chip Cookie recipe brings a taste of Disney magic right into your kitchen. By using simple, high-quality ingredients, this recipe delivers cookies that are perfectly soft and chewy with that irresistible chocolatey goodness. With easy-to-follow instructions and metric measurements for consistency, even bakers from around the world can enjoy this treat. Whether you’re baking for a special occasion, a family gathering, or just a sweet indulgence, these cookies are sure to bring joy. With a few helpful tips and delightful variations, you can make them your own.
Enjoy the magic of Disney with every bite, and don’t forget to pair them with your favorite beverage to complete the experience!
FAQs
1. Can I use brown sugar instead of white sugar?
Yes, you can substitute brown sugar for white sugar in the Disney chocolate chip cookie recipe. Brown sugar adds a touch of moisture and a slight caramel flavor. If you’re out of brown sugar, you can combine white sugar with a small amount of molasses to mimic its taste and texture.
2. Can I make these cookies gluten-free?
Absolutely! To make gluten-free Disney chocolate chip cookies, you can substitute all-purpose flour with a gluten-free flour blend. Be sure to check if your flour mix includes xanthan gum or other binders for structure.
3. How can I make the cookies chewier?
For extra chewy cookies, try chilling the dough before baking. This helps the dough hold its shape and results in softer cookies. Also, slightly underbake the cookies, so they remain soft in the center.
4. What type of chocolate chips should I use?
The best chocolate chips for Disney chocolate chip cookies are semi-sweet, but you can use milk or dark chocolate depending on your preference. Ghirardelli, Hershey’s, and other high-quality brands work wonderfully.
5. How do I store leftover cookies?
Store your cookies in an airtight container at room temperature for up to a week. To keep them fresh longer, you can freeze them by placing them in a sealed container or zip-lock bag for up to three months. Just thaw them at room temperature when you’re ready to enjoy!
6. Can I freeze cookie dough to bake later?
Yes, you can freeze the cookie dough to bake at a later time. Scoop the dough into balls, place them on a baking sheet, and freeze for about an hour. Then, transfer the dough balls into an airtight container or freezer bag. When ready to bake, place the frozen dough balls on a baking sheet and bake as usual, but add an extra 1-2 minutes to the baking time.
7. Can I substitute the eggs for a vegan alternative?
If you’re looking to make a vegan version of Disney chocolate chip cookies, you can substitute eggs with a variety of options. Try using flaxseed meal (1 tablespoon ground flaxseed + 3 tablespoons water), applesauce, or a commercial egg replacer to achieve similar results. Keep in mind that texture and flavor might vary slightly.
8. How do I get perfectly round cookies?
For evenly shaped cookies, use a cookie scoop or spoon to form the dough, ensuring that each dough ball is roughly the same size. You can also roll the dough into balls in your hands before placing them on the baking sheet for uniformity. This will help create more consistent, round cookies.
9. Can I add other mix-ins to the cookie dough?
Definitely! You can customize the Disney chocolate chip cookies by adding mix-ins like dried fruit (raisins, cranberries), coconut flakes, or different types of chocolate (white, milk, or dark). Just make sure to mix in any additional ingredients gently to maintain the texture of the dough.
10. Why do my cookies spread too much while baking?
If your cookies spread too much while baking, it could be due to the dough being too warm when placed on the baking sheet. Ensure that the dough is chilled for at least 30 minutes before baking. Also, make sure you’re using the correct amount of flour and that your baking soda is fresh.


2 thoughts on “Disney Chocolate Chip Cookie Recipe with Metric Measurements”
Comments are closed.