Craving a decadent dessert at midnight but don’t want to spend an hour baking?
That’s exactly why the oreo cake in a mug has become an internet sensation. This genius 2-minute recipe transforms your favorite cookies into a warm, gooey cake using just your microwave and a coffee mug.
The best part? You don’t need fancy baking equipment or a dozen ingredients. Just grab some Oreos, milk, and a few basic pantry staples to create this indulgent treat. Whether you’re satisfying a sudden sweet tooth or impressing unexpected guests, this quick dessert never disappoints.
Ready to master the perfect oreo mug cake that rivals any bakery creation? Let’s break down the science, ingredients, and techniques that make this 2-minute miracle possible.
Table of Contents
The Science Behind Perfect Oreo Mug Cake Texture
Understanding the science behind your microwave oreo mug cake can help you achieve the perfect texture every time. Let’s explore how this quick dessert comes together through some fascinating kitchen chemistry.
How Microwaves Cook Different from Ovens
Unlike traditional ovens that heat from the outside in, microwaves use a special component called a magnetron to generate radio frequency waves 1. These waves penetrate your oreo mug cake batter and excite water molecules, creating heat from within. The turntable in your microwave ensures even distribution of these waves, resulting in uniform cooking 1.
Role of Each Ingredient
Every ingredient in your Oreo mug cake plays a crucial scientific role:
- Flour: Provides the basic structure through gluten formation
- Baking Powder: Acts as the leavening agent, creating air bubbles for a fluffy texture
- Egg Yolks: Work as emulsifiers, helping fats and liquids combine smoothly 1
The success of your oreo mug cake depends on timing these reactions perfectly – the structure needs to set just as the leavening agent creates those essential air bubbles 1.
Optimal Ingredient Ratios
Precision matters more than you might think when measuring ingredients for your oreo mug cake. Professional bakers recommend using a kitchen scale instead of cups and spoons for consistent results 1. The basic cake ratio follows a 1:1:1:1 proportion of flour, sugar, fat, and liquid 1.
The shape of your mug also influences the final texture. A narrow, cylindrical mug works best as it forces the gasses upward, creating better lift in your cake 1. The material of your mug, while not crucial for short cooking times, can affect heat distribution – standard ceramic mugs work perfectly for this purpose 1.
For the best results, ensure you’re using enough batter. Having sufficient liquid content is essential because microwave energy needs enough water molecules to work with 1. This explains why oreo mug cakes often have higher liquid content than traditional cake recipes 2.
Remember that microwave wattage affects cooking time. If your microwave operates at 800 watts, you’ll need about 80 seconds for perfect results 2. Adjust this time up or down based on your microwave’s power level.
Essential Equipment and Ingredients
Let’s gather everything you need to create your perfect Oreo mug cake. Success starts with having the right equipment and ingredients ready before you begin.
Choosing the Right Mug Size and Shape
The perfect mug for your Oreo cake isn’t just any coffee cup. You’ll need a microwave-safe mug with a capacity of at least 350 mL (12.5 oz) 1. A wider, shallower mug promotes more even cooking 3, but don’t worry if you don’t have the perfect shape – any microwave-safe container will work, including ceramic ramekins or even paper cups 4.
Required vs Optional Ingredients
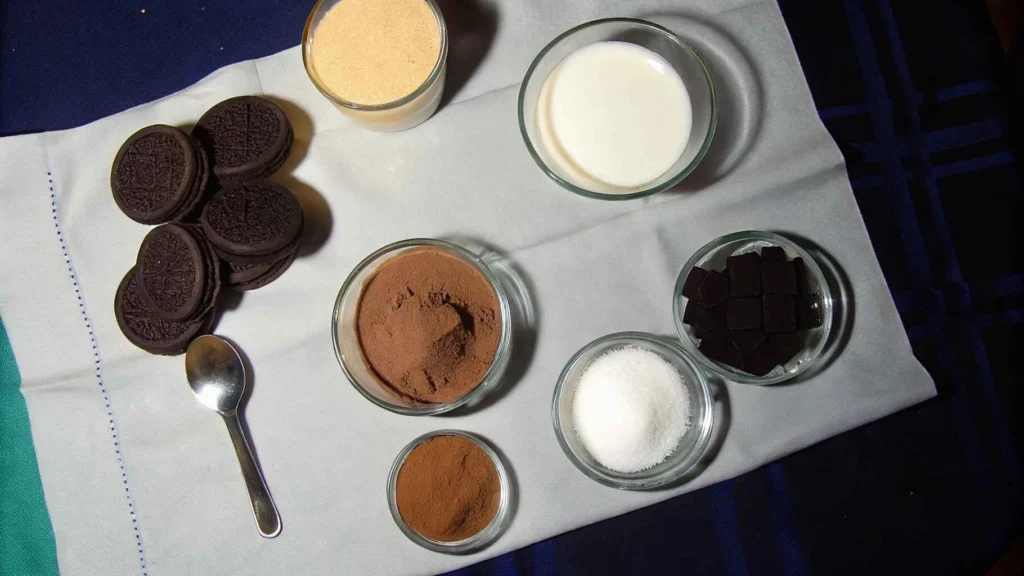
Here’s what you’ll need for the basic recipe:

Optional Add-ins can enhance your cake:
- Vanilla extract for extra flavor 1
- Vegetable oil for moisture 1
- Cocoa powder for richer chocolate taste 1
You can easily substitute regular milk with soy, almond, or oat milk 1 for dietary preferences. The recipe works equally well with gluten-free Oreos 2.
Ingredient Temperature Importance
Temperature plays a crucial role in achieving the perfect texture. Room temperature ingredients bond together more easily, creating a smoother batter 2. For best results:
- Take milk out of the refrigerator 30-60 minutes before starting 2
- If you’re in a hurry, warm the milk slightly in the microwave 2
- Avoid using hot ingredients as they can affect the cake’s texture 3
Pro Tip: Place your mug on the outer edge of the microwave plate for more even cooking 1. This simple positioning trick can make a significant difference in your cake’s texture.
Remember, while this recipe is forgiving, measuring ingredients with proper spoons rather than eyeballing will give you consistently better results 1. The beauty of this oreo mug cake lies in its simplicity – you don’t need dozens of ingredients or special equipment to create something delicious.
Step-by-Step Mixing Technique
The secret to a perfect oreo mug cake lies in the mixing technique. Getting this right will ensure your cake has the ideal texture and taste, without any unwanted lumps or dry spots.
Proper Cookie Crushing Method

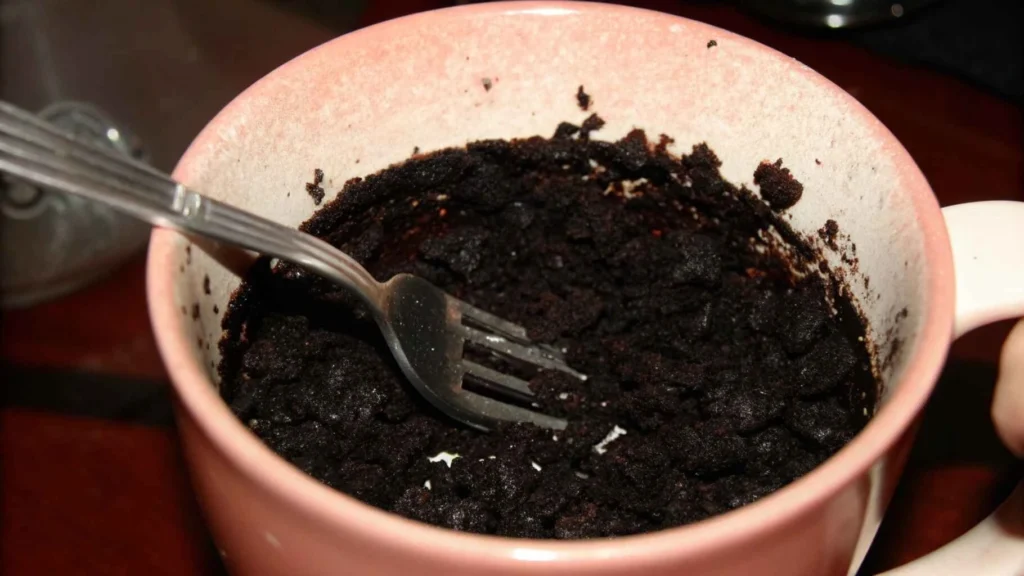
Start by placing your Oreos in the mug and use a fork to crush them into fine crumbs 1. For the best texture, crush the cookies as thoroughly as possible – smaller crumbs create a more uniform cake 1. Once you add milk, the cookies will soften, making them easier to crush further 1.
Correct Order of Ingredients
Following the right sequence is crucial for a smooth batter:

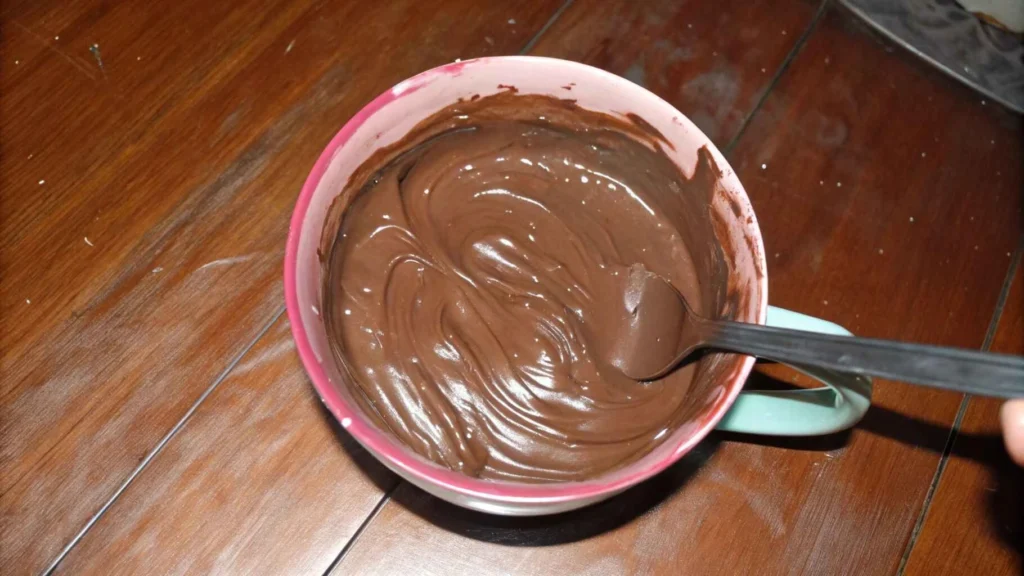
- First, combine crushed Oreos with milk and stir until they form a paste-like consistency 1
- Add oil and vanilla extract, stirring until well combined 1
- Sift in your dry ingredients (flour, cocoa powder, baking powder, and salt) 1
Important Note: Sifting the dry ingredients helps prevent lumps and ensures even distribution throughout the batter 2.
Optimal Stirring Technique
The way you mix your ingredients can make or break your oreo mug cake. For the perfect consistency:
- Use gentle, consistent strokes when combining ingredients 1
- Avoid overmixing – stop as soon as everything is combined 1
- If you notice any flour lumps, press them against the side of the mug with your fork 2
Pro Tip: If your batter develops lumps, use a small wire whisk to break them up 2. However, be careful not to overmix, as this can lead to a tough, chewy texture.
For the smoothest possible batter, ensure all your ingredients are at room temperature before mixing 3. This simple step helps ingredients bond together more effectively, creating a more uniform texture in your final cake.
Remember, unlike traditional cakes, oreo mug cakes don’t require eggs – they can make the cake dense and give it an unpleasant custard-like texture 3. Instead, rely on proper mixing technique and the right amount of baking powder to achieve the perfect rise and texture.
Mastering Microwave Cooking
Getting the perfect microwave timing for your oreo mug cake can seem tricky, but with the right knowledge, you’ll achieve bakery-worthy results every time.
Understanding Wattage and Timing
Your microwave’s power significantly impacts cooking time. Most recipes are designed for 1100-watt microwaves 4, but if yours differs, you’ll need to adjust. Here’s how to calculate the perfect timing:
- Check your microwave’s wattage (usually printed on the door)
- Multiply the recipe time by 1100
- Divide by your microwave’s wattage
- Round to the nearest second
For example, if a recipe calls for 90 seconds in an 1100-watt microwave, but you have a 700-watt model, you’ll need about 142 seconds 4.
Visual Cues for Doneness
Don’t rely solely on timing – watch for these signs of readiness:
- Center should be set but slightly moist
- Surface should appear matte, not shiny
- Cake should spring back when lightly touched
- Toothpick inserted in center should come out mostly clean 1
Important: If your cake isn’t done after the initial cooking time, add extra time in 10-second increments 1. This prevents overcooking, which can result in a rubbery texture 5.
Resting Period Importance
The final step is crucial – let your oreo mug cake rest for 1-2 minutes after cooking 6. This resting period serves multiple purposes:
- Allows the cake to finish cooking through residual heat
- Prevents burning your mouth on hot spots
- Helps achieve the perfect texture
- Gives time for toppings to melt slightly
Pro Tip: If you’re planning to add frosting or toppings, wait until after the resting period to prevent them from melting completely 3.
Remember that a slightly undercooked cake is better than an overcooked one. The cake will continue cooking slightly during the resting period 6. If you’re unsure, it’s better to err on the side of caution – you can always add more time, but you can’t undo overcooking.
A properly cooked oreo mug cake should have a moist, tender crumb with no gummy or rubbery spots. If your cake turns out dry or rubbery, it’s likely been overcooked 3. The key is finding the sweet spot between done and overdone, which might take a couple of tries with your specific microwave.
Achieving Restaurant-Quality Results
Transform your homemade oreo mug cake into a restaurant-worthy dessert with these professional finishing touches. The right presentation and toppings can elevate this quick treat into an impressive finale for any meal.
Professional Plating Tips
The key to professional presentation starts with choosing the right serving vessel. While you’ll cook your cake in a microwave-safe mug, consider transferring it to a wider dessert plate for an elegant presentation 7. For the perfect plating:
- Create a clean border around your dessert by dusting powdered sugar or cocoa powder with precision
- Add visual height by incorporating whipped cream or ice cream
- Place complementary garnishes strategically around the plate
- Use contrasting colors to make your dessert pop
Pro Tip: Leave some “white space” on your plate – this professional technique makes your dessert look more appealing 2.
Complementary Toppings
The right toppings can transform your oreo mug cake from good to extraordinary. Here are some proven combinations that work exceptionally well:
- Classic Additions:
- Vanilla ice cream (creates a delightful hot-cold contrast) 3
- Whipped cream for lightness 7
- Additional crushed Oreos for texture 3
- Chocolate chips (add while hot to create a melted effect) 1
- Creative Enhancements:
- Marshmallows for extra sweetness 7
- Colorful sprinkles for visual appeal 7
- Icing sugar for an elegant finish 7
- Homemade chocolate sauce for richness 3
Temperature Serving Guide
Timing is crucial when serving your oreo mug cake. The dessert reaches its peak texture and flavor within specific temperature windows:
Immediate Serving (Recommended) Your oreo mug cake should be served within 1-2 minutes after cooking 6. This timing ensures:
- Optimal warmth for melting toppings
- Perfect cake texture
- Maximum flavor release
- Ideal consistency
Temperature Combinations Create exciting temperature contrasts by pairing your warm cake with cold elements:
- Add cold vanilla ice cream to create a delightful temperature variation 6
- Let slightly on the warm cake surface 1
- Allow whipped cream to slowly soften for the perfect bite
Important: Avoid storing your oreo mug cake for later, as it’s specifically designed for immediate consumption. The texture will become harder and chewier over time 6. If you’re adding ice cream, serve it quickly to maintain the perfect balance between hot and cold elements 2.
For the ultimate presentation, consider using a larger mug or dessert plate that allows ample space for toppings and garnishes 2. This extra room ensures your toppings don’t overcrowd the cake and creates a more visually appealing dessert that rivals any restaurant creation.
Chef’s Tips for Perfect Mug Cakes
- Use the Right Mug
- Always choose a microwave-safe mug that’s at least 12 ounces to prevent overflowing.
- Measure Ingredients Accurately
- Small changes in proportions can make a big difference, so measure carefully.
- Mix Batter Well
- Ensure there are no lumps for even cooking and a smooth texture.
- Adjust Microwave Power
- Every microwave is different. Start with 1 minute at 80% power, then add 10-second bursts if needed.
- Avoid Overcooking
- Overcooking makes the cake rubbery and dry. Check frequently—it’s done when the center is just set.
- Add a Little Fat
- A teaspoon of butter or oil makes the cake moist and fluffy.
- Don’t Skip Salt
- A tiny pinch of salt balances sweetness and enhances flavor.
- Experiment with Add-Ins
- Customize with chocolate chips, nuts, peanut butter, or a dollop of Nutella for extra decadence.
- Let It Rest
- Allow the mug cake to cool for 1-2 minutes before eating. This helps the texture settle.
- Toppings Make the Difference
- Finish with whipped cream, ice cream, crushed Oreos, or a drizzle of chocolate syrup for that chef’s touch.
1. How to make an Oreo mug cake video
To create a simple and engaging video for an Oreo mug cake:
Script & Steps:Start with a catchy intro: “Craving dessert in minutes? Try this 2-ingredient Oreo Mug Cake!”
Steps to show visually:Place 5-6 Oreo cookies in a mug.
Add 3-4 tablespoons of milk.
Crush the Oreos using a fork until smooth.
Microwave for 1-2 minutes.
End with: “Enjoy your fluffy Oreo mug cake—ready in no time!”
Video Style:Use overhead shots for clarity.
Include text overlays for the ingredients and steps.
Add upbeat background music.
2. Can you put Oreos in the microwave?
Yes, you can put Oreos in the microwave. When mixed with milk, they soften and break down, making them perfect for recipes like mug cakes or desserts. However, microwaving plain Oreos for too long can make them burn, so add moisture (like milk) if heating.
3. Why is my mug cake not spongy?
Your mug cake might not be spongy due to:
Too much liquid: It makes the cake dense rather than fluffy.
Under or overcooking: Over-microwaving dries it out; undercooking leaves it gummy. Start with 1 minute and check the texture.
Incorrect ingredient ratio: The batter should be smooth but not runny.
Microwave power: If your microwave is too strong, try reducing the power to 70-80%.
4. How many crushed Oreos are in a cup?
Approximately 10-12 standard Oreo cookies make 1 cup of crushed Oreos when finely ground. The number may vary slightly based on the size of the pieces.
Conclusion
Making a perfect oreo mug cake requires attention to detail, from proper ingredient measurements to precise microwave timing. This quick dessert combines the simplicity of minimal ingredients with the science of microwave cooking to create a delightful treat in just two minutes.
Success lies in mastering each element – crushing the cookies properly, following the correct mixing sequence, and understanding your microwave’s power levels. Room temperature ingredients, proper mug selection, and careful attention to cooking signs ensure consistent results every time.
Remember that presentation transforms this simple dessert into an impressive finale. Professional plating techniques, complementary toppings, and proper temperature combinations elevate your oreo mug cake from a late-night craving to a restaurant-worthy dessert. Practice these techniques, experiment with different toppings, and soon you’ll create perfect oreo mug cakes that rival any bakery creation.

